
by Guest | Feb 14, 2018 | Being Well, Eat Well
By Dr. Hans Diehl
The diagnosis of Type 2 Diabetes has often been perceived as a death sentence because of its impact on health and lifespan. Diabetes, over time affects every major organ in the body and is largely responsible for markedly increasing the risk of blindness, kidney disease, amputation, heart disease and stroke, and erectile dysfunction. Currently, every second American adult either has full-blown diabetes or has been diagnosed as a person with pre-diabetes. But we can go now beyond merely treating the symptoms of diabetes. The highly respected ACCORD study showed that tight control of the glucose levels actually increased morbidity and mortality.
So we must go beyond just treating the symptoms of diabetes, or managing its blood sugar levels with drugs and injections. Almost all pharmaceutical agents increase appetite, thus increasing weight, thus worsening the diabetic condition and requiring more medications. This only continues the vicious cycle of more drugs, more weight, and a worsening of the diabetes with its devastating health impact, shortened lives and a higher economic burden.
There IS hope. A new approach is emerging that has helped close to 10,000 diabetics enrolled in the CHIP (Complete Health Improvement Project). This diet-centered lifestyle intervention lowers blood sugar levels within days. It is an approach that was used more than 80 years ago but it was overlooked and forgotten. Today the evidence is quite stunning when we use a diet very low in fat, oils and grease but high in unrefined complex carbohydrates. The body usually recovers, and within four weeks about 75% of patients with Type 2 Diabetes on drugs and about 50% of these patients on insulin will have normalized their blood sugar levels while being off their medications.
Dr. Singh, as published in the respected Lancet Medical Journal as far back as 1955, had 50 of his 80 insulin-using Type 2 diabetics off insulin with normalized blood sugar levels within 6 weeks by using a very low fat, yet very high, unrefined starch diet. We are now beginning to understand some of the mechanisms that will be carefully discussed in more detail in my presentation on March 2.
The answer to this largely lifestyle-related disease is not found in pills and shots. To disarm and reverse this rapidly expanding killer disease, we need to go beyond pills and shots. We need to alter the causes of this disease. That involves our lifestyle, and especially our dietary lifestyle of “sweets and meats” and of “junk and bunk”.
Type 2 diabetes has tripled in the United States over the last 30 years. This is not a genetically induced disease, because it takes about 300 years to change the genetic make-up of a nation. However, a healthier lifestyle will turn this disease around, not only preventing it but also disarming and reversing it, often within days. The very lifestyle that will heal the diabetes, will also extend to healing heart disease, hypertension, overweight and other chronic diseases.
Dr. Diehl will be making this presentation at a luncheon on Friday, March 2 at 12:00 – 1:15 pm at Wirick Hall at the Nazarene Church, 2611 Third Street, Tillamook. There is no charge for this event. Please RSVP for the meal to 503-815-2270 or gabelgl@ah.org. Sponsored by Tillamook Regional Medical Center.
by Guest | Jan 13, 2018 | Being Well, Eat Well, Recipes
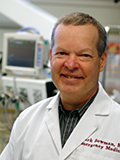
Everyone has heard the clichés, “Doctors are the worst patients,” or “Doctors don’t take their own advice.” It’s also the toll of the hours required in medical school and during residency that have an impact on the health of many MDs. Add in stress, poor sleep and poor diet and it’s the perfect storm for a chronic disease, such as Type 2 diabetes to be diagnosed. That’s exactly what happened to Dr. Mark Bowman.
Dr. Bowman and his family arrived at Adventist Health Tillamook Regional Medical Center in 1994. He was the first emergency-trained doctor to serve at TRMC. Before Tillamook, Bowman had gotten his medical degree at Ohio Northeastern Medical School in Emergency and Family Medicine, and then his residency in Toledo, Ohio. It was during this stressful time that Dr. Bowman was diagnosed with Type 2 diabetes. “I was shocked,” said Bowman. “How could a reasonably healthy guy in his mid-30’s have diabetes?” He continued, “But it added up – significant weight gain, not a healthy diet, on-the-go, grab and go food, lack of sleep and stress. That was the real trigger for my onset.”
With oral medications, a healthy diet and exercise, Dr. Bowman has been able to maintain and reduce is A1C levels. “There are so many other health impacts from increased A1C, cardiovascular disease, brain health, that’s why it’s important to know your numbers. It can be a silent disease,” he said.
Dr. Bowman is a good patient, and since he was diagnosed he’s taken the same dosage of medication, and made some adjustments to what and how he eats, moves and lives. He commented, “It’s cool to have a bunch of tools to use that can help manage a chronic disease like Type 2 diabetes, and I knew that to avoid some of the bigger consequences, I needed to do something, make some changes.” He continued, “I’ve had ups and downs, but I’ve never felt better.”
Another path opened up when Dr. Bowman was introduced to functional medicine. “About 4 or 5 years ago our daughter sent us this YouTube link that featured Dr. Mark Hyman talking about this specialty,” said Bowman. “After viewing it, my reaction was ‘this makes sense.’ And I began pursuing the training and certification.”
From the Institute of Functional Medicine: Functional Medicine determines how and why illness occurs and restores health by addressing the root causes of disease for each individual. “One condition can have many different causes, and how one cause can lead to many different conditions,” describes Mark Hyman, MD, IFM Board President. The Functional Medicine model is an individualized, patient-centered, science-based approach that empowers patients and practitioners to work together to address the underlying causes of disease and promote optimal wellness. It requires a detailed understanding of each patient’s genetic, biochemical, and lifestyle factors and leverages that data to direct personalized treatment plans that lead to improved patient outcomes.
By addressing root cause, rather than symptoms, practitioners become oriented to identifying the complexity of disease. Functional Medicine treatment targets the specific manifestations of disease in each individual.
“This is the future of medicine, the direction I’m excited to take my medical practice, and bring to our community,” said Bowman. “We are wired and tired. It’s about doing simple things, eating healthy and walking, but most importantly controlling stress, with mindfulness, yoga, activity, meditation. Figuring out what the combination is that works for you, for each individual,” he enthused.” This is another first in Tillamook County for Dr. Bowman as he is completing his certification in the specialty and is seeing patients one day a week at the Tillamook Medical Plaza as he sets up programs for his functional medicine practice. For more information, contact Dr. Bowman’s medical assistant at 503-815-6358.
Dr. Bowman’s Wrap It Up
YOW asked Dr. Bowman for one of his favorite recipes …
“This low carb wrap which relies on almond flour tortillas that I get in Portland at Whole Foods or Natural Grocers. I take one wrap and spread a healthy oil mayo with some protein (egg with or without cheese) and some cooked leafy greens with some jalapeno sauce. Yum! And less than 10 grams carbohydrate for a good start to the day!
This recipe has LOTS of flexibility and can be adapted to things you have on hand, such as leftover chicken or burger, rice or more
Wrap It Up
1 serving
Prep time: 10 minutes (or less)
1 tortilla (almond, flour, whole wheat, spinach)
Mayo (or use refried beans or pesto or …)
1 egg, scrambled
2 Tablespoons cheese (if desired)
Add meat, if desired
½ veggies cooked or uncooke
Warm in oven slightly before you head out the door; or microwave for 30 seconds. And as Dr. Bowman said, “YUM!”

by Guest | Dec 29, 2017 | Eat Well, Recipes
Recipe Source: foodhero.org
Ingredients
2 cups grated cauliflower (about half a medium head)
1 egg
3 Tablespoons flour
1⁄4 cup low-fat cheddar cheese, grated
1⁄4 teaspoon salt
Directions
- Preheat oven to 400 degrees. Spray a baking sheet or line with parchment paper or foil.
- Grate cauliflower on large holes of a grater.
- In a medium bowl, combine cauliflower, egg, flour, cheese, and salt; mix well.
- Press mixture together to make about 15 small balls or logs; Place on the baking sheet with space between each ball or log.
- Bake for 20 minutes or until cooked through. For extra crispy tots, broil for an extra 2 minutes. Watch closely to avoid burning.
- Refrigerate leftovers within 2 hours.
Notes
· Texture will be best when freshly made.
by Guest | Dec 16, 2017 | Eat Well, Recipes
By Jessica Linnell, Asst. Professor (Practice), Family & Community Health, Oregon State University Extension Service
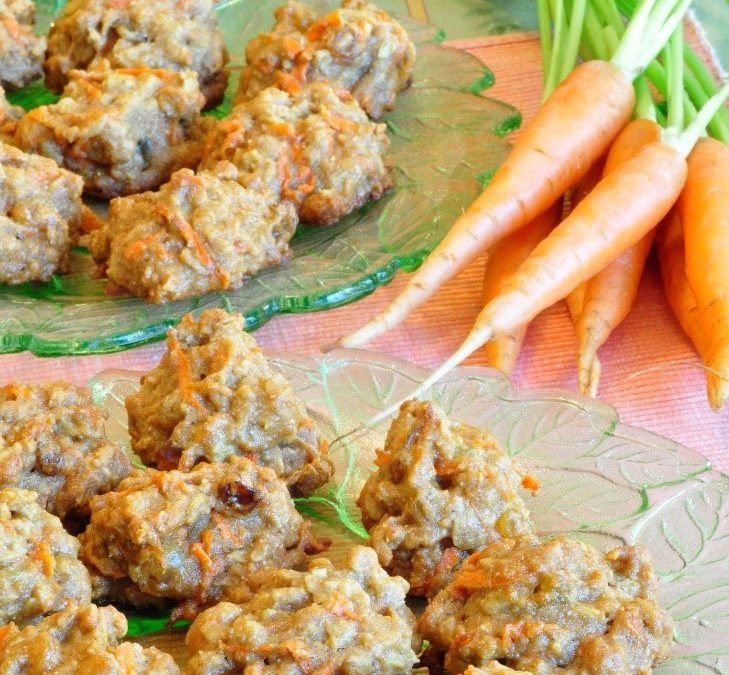
The holidays are when we gather to prepare and eat delicious foods with our families. However, eating healthfully during this time can feel like a monumental challenge. People often complain that eating healthfully during the holidays means having to avoid tasty treats and family traditions. Instead of thinking of this as a problem of “this or that”, why not do both? You can eat healthy while enjoying delicious family recipes, and here are a few tips. When planning celebration meals, update the family recipes with nutrient-dense foods like fruits, veggies, and nuts. Give your green beans a boost with almonds, or replace mashed potatoes with sweet potatoes. Do you love holiday cookies? Try this recipe that is packed with delicious and nutritious carrots, applesauce, and raisins, as well as the comforting holiday spices like vanilla, cinnamon, nutmeg, and ginger.
Recipe: Carrot Cake Cookies
Recipe Source: FoodHero.org
Number of servings: 48 cookies
Time for preparation (including preparation and cooking): 35 minutes
1⁄2 cup packed brown sugar
1⁄2 cup sugar
1⁄2 cup oil
1⁄2 cup applesauce or fruit puree
2 eggs
1 teaspoon vanilla
1 cup flour
1 cup whole wheat flour
1 teaspoon baking soda
1 teaspoon baking powder
1⁄4 teaspoon salt
1 teaspoon ground cinnamon
1⁄2 teaspoon ground nutmeg
1⁄2 teaspoon ground ginger
2 cups old fashioned rolled oats (raw)
1 1⁄2 cups finely grated carrots (about 3 large carrots)
1 cup raisins or golden raisins
Directions
- Heat oven to 350 degrees.
- In a large bowl, mix sugars, oil, applesauce, eggs, and vanilla thoroughly.
- In a separate bowl, stir dry ingredients together.
- Blend dry ingredients into wet mixture. Stir in raisins and carrots.
- Drop by the teaspoonful on greased baking sheet.
- Bake 12 to 15 minutes until golden brown.
- Store in airtight container.
by Guest | Dec 9, 2017 | Eat Well, Recipes
By Debbie Braden-Lane, Branch Operations Specialist, Oregon Food Bank-Tillamook County Service
Some tasty and easy ways to eliminate food waste and save time and money, by utilizing leftovers! Especially during the holidays or after other family get-togethers, or big Sunday dinners.
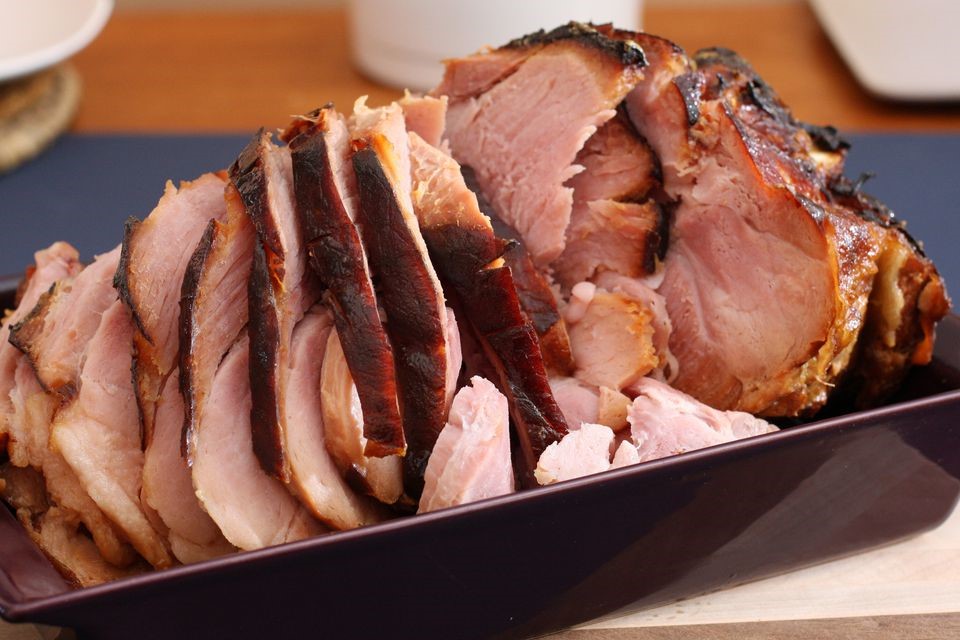
- Sunday: Ham Dinner w/ German Potato Salad, Cooked Carrots and Applesauce
- Monday: Hot Ham and Cheese Sandwiches
- Tuesday: Ham and Bean Soup
- Wednesday: Scalloped Potato and Ham Casserole Dinner
- Thursday: Red Beans and Rice with Diced Ham
- Friday: Homemade Hawaiian Pizza Night!
On Sunday, bake a ham and prepare a German Potato Salad (this week’s YOW recipe, provided by Crystal Hayes), include cooked carrots and applesauce for your sides. (Reserve the ham bone as you will use it later in the week for a meal.)
For Monday make up some delicious hot ham and cheese sandwiches. Lay ham and assorted cheeses on a hoagie roll with mustard, wrap in foil and bake in the oven until the contents are hot and the outside of the rolls are slightly crispy. Yum!! This is delicious with a small garden salad.
For Tuesday evening, pick up a loaf of crusty bread and pair it with Ham and Bean Soup, made from the ham bone, great northern or navy beans, diced or shredded ham, celery, onion and carrots. If you don’t want to do a bread two nights in a row, make another garden salad for a soup and salad night!
Ahhhhhh, we are halfway through the work week! Yay! It’s all downhill from here. So, let’s get going on Wednesday’s supper…. Scalloped Potatoes with Ham Casserole. Total comfort food to help us get through the rest of the week.
You can either set up this meal in the crock pot so it’s ready when you get home from that long day … OR throw it together after work. You will need some of your leftover ham, thinly sliced potatoes, a white sauce and shredded cheese, if desired. Bake in the oven at 350 degrees until potatoes are at the desired tenderness. Serve with peas.
How about something really simple for Thursday night? Red beans and rice with ham. Good stuff right there.
Okay, we are heading into the weekend on a Friday evening. Pizza night! Make a Hawaiian pizza with ham and pineapple and add other toppings. Use your imagination and go wild with veggie toppings!
Note: By mid-week, if you notice that you are going to have excess ham for the rest of the week, this would be the time to figure out how much you will need to freeze and put it in the freezer. Or, if you can handle ham for breakfasts and lunches throughout the week, that is, of course, another way to use up your leftover ham. Also, please be careful seasoning your dishes with salt when using ham, as most of the time, the ham provides PLENTY of salt on its own.
There you have it… a whole work week of meal ideas using leftover Sunday dinner! Bonus – You won’t have to remember to get something out of the freezer every morning for dinner that night. I’m sure I’m not alone here!
ENJOY!

by Guest | Nov 24, 2017 | Eat Well
By Anne Goetze, RDN, LD, FAND, Oregon Dairy and Nutrition Council
At the Tillamook Year of Wellness Eat Well, Be Well workshop in March, more than 70 attendees sought expertise from registered dietitian Judy Barbe. In a recent follow-up with Judy, I asked her what she would most like to remind attendees. Her response was to nudge them toward the 3 goals (related to food, physical activity and environment) they set during the workshop.
“I had a great time in Tillamook last March when we focused on nutrition for the Year of Wellness. I’ve heard from some of the attendees and know they are making strides to live best. For most of us, there is always room for improvement. What you put on your fork, how you use your feet, who you connect with, and how you feed your soul are keystones to better living. This article is a perfect opportunity to check in and see how everyone is doing.”
We can all use a refresh on how to eat well and be well.
With food, activity and your environment, the choices you make now can improve your quality of life to live stronger, healthier and happier. Using the power of goal setting, small investments can make huge returns on improving your health. Start small with an easy change that leads to a bigger change over time. Think about where you are now in your health and well-being. Are you where you want to be? How could you make better food choices, do more physical activity, improve your environment and feed your soul?
Maybe it’s getting up early to walk your dog in the morning before leaving for work, or connecting with family and friends over a home-cooked meal. Perhaps it means slowing down and enjoying a warm latte on a cold morning. What about giving your plate a make-over with choosemyplate.gov? Making sure you get enough food from each food group (dairy, protein, grains, fruits and vegetables), most days, is a winning live best strategy.
We reached out to attendees of the conference to see what changes they have made to live best. Here’s what they have been doing:
“Decreasing sugar, taking stairs, parking farther away from the store.”
“Making smoothies with dairy milk.”
“Taking a break or a short nap.”
“I am making breakfast oatmeal in the rice cooker.”
“I have increased my daily activity. Sitting less. Moving more.”
“Cooking at home more.”
“I planned dinners for the week before grocery shopping.”
“Finished painting the outside of the house… big deal, I’m 73!!”
“Drinking more water intentionally.”
“I have begun doing brief high-intensity-interval workouts.”
Need some ideas or motivation? Get started with or refresh your own Eat Well, Be Well goals at http://www.livebest.info/
Judy created a free, 5-day High Five Fiber Challenge you can join by clicking this link (http://eepurl.com/c3XHxL). You’ll get tips and tools, resources and recipes to create your own roadmap to meet your fiber goals. Don’t ya? Won’t ya? Seriously, it’s only 5 days.