by Guest | Mar 30, 2022 | Lunch & Snack Recipes, Recipes
Prep Time: 5 minutes
Cook Time: 1 hour
Ingredients
Optional
- acidic fruit juice (lemon, lime, orange, pineapple) to reduce browning
- cinnamon or other flavorings
Directions
- Wash hands with soap and water.
- Slice bananas into 1/8 to 1/4-inch slices.
- OPTIONAL: Dip banana slices into fruit juice to reduce browning. Sprinkle with cinnamon or other flavorings if desired.
- Dry until pieces bend like thick leather and no longer feel sticky.
- Oven Instructions: Set oven to lowest temperature possible (175 to 200 degrees F). Use convection bake if available. Arrange banana slices in a single layer on a wire rack or baking sheet. A wire rack will help the banana dry faster. A baking sheet takes longer and pieces need to be turned part way through drying. Drying takes 1 to 3 hours.
- Dehydrator Instructions: Arrange banana slices in a single layer on dehydrator racks. Set dehydrator to 135 degrees F. Drying takes 6 to 12 hours.
- Cool. Store in an airtight container or bag.
Photo & Recipe Source: https://www.foodhero.org/recipes/dried-bananas

by Guest | Mar 22, 2022 | Being Well
What is your role at the Tillamook Family Counseling Center and what drew you to this work?
My role at Tillamook Family Counseling Center is a Behavioral Health Clinician. I am a licensed clinical social worker, certified gambling addiction counselor and certified alcohol and drug counselor. My role as the certified gambling addiction counselor includes treatment for the people with problem gambling and their concerned others, education to our staff, community partners, and our community members, and outreach to our community to increase the awareness that services are available for people struggling with problem gambling.
What is your favorite part of your role? What is most challenging?
My favorite part of my role is being able to see the moment when a client is ready for change, and they begin to establish their recovery.
I would say the most challenging part is when a client is not ready for change, having them remain engaged in services to explore that ambivalence in treatment. Many times, people think if they are going to attend treatment they will immediately have to stop gambling and that’s not always true. It depends on the person. We can use harm reduction techniques to assist them with slowing down the gambling and deciding what’s best for them for their treatment and recovery. I’ve worked with people who need to abstain from gambling, and I’ve worked with people who were able to successfully utilize money and time barriers, monthly financial snapshots, and other helpful tools learned in treatment where they are able to continue to gamble responsibly.
What exactly is problem gambling?
It might be best to start with what is gambling? “Gambling can be defined as placing something of value at risk in the hopes of gaining something of greater value” (Potenza 2006). When I was going through my training, I learned that there were forms of gambling that I didn’t even realize were gambling, such as bingo, raffles, and gambling that can happen within the stock market. There is also gambling happening within video games.
The definition of problem gambling that I would like to share is from the National Council on Problem Gambling Website (https://www.ncpgambling.org). “Problem gambling–or gambling addiction–includes all gambling behavior patterns that compromise, disrupt or damage personal, family or vocational pursuits. The symptoms include increasing preoccupation with gambling, a need to bet more money more frequently, restlessness or irritability when attempting to stop, “chasing” losses, and loss of control manifested by continuation of the gambling behavior in spite of mounting, serious, negative consequences. In extreme cases, problem gambling can result in financial ruin, legal problems, loss of career and family, or even suicide”.
How does problem gambling impact an individual and the people around them?
People are not only gambling with money. When we look deeper, they are gambling with their relationships, safety/security, job, housing, time, integrity, and ultimately their life. Gambling disorder is associated with poor general health. There are high comorbidity rates with gambling and substance abuse, as well as mental health. Sometimes treatment will need to incorporate all three areas (gambling, substance use, and mental health). Concerned others are able to enter treatment to learn healthy boundaries, assertive communication, and more about what gambling addiction is. They are able to learn ways to not continue to contribute to the other person’s problem gambling.
Are there any misconceptions about problem gambling? What do you wish people knew?
Problem gambling is an addiction. You can experience withdrawal symptoms from gambling. It impacts some of the same areas of the brain as seen with substance use. Problem gambling treatment includes areas of focus such as financial barriers, creating a monthly financial snapshot, and wellness planning to address and expand upon the 8 dimensions of wellness. I highly encourage family therapy and participation in Gambler’s Anonymous.
How can community members find support or services for problem gambling?
If someone would like to access treatment, they can call TFCC at 503-842-8201 and request to schedule an appointment. They are also able to access services by calling 1-877-My-Limit (1-877-695-4648). It’s important to remember that problem gambling treatment services are free for the person struggling with problem gambling as well as concerned others that are impacted by that person’s problem gambling. The treatment services are paid for by the Oregon Lottery. We also have a local Gambler’s Anonymous meeting that is held Tuesdays at 5:30pm at the Serenity Club. At times the GA meeting can be virtual so please call the Serenity Club to confirm if it is in-person or to obtain the virtual meeting link.
Is there anything else you would like to add?
There is a 70% success rate with treatment if the client is able to utilize financial barriers and tools, have engagement with family therapy, and attend self-help meetings such as Gambler’s Anonymous.
Other wellness questions? Email us at info@tillamookcountywellness.org. For more local health and wellness information, visit www.tillamookcountywellness.org or follow Tillamook County Wellness on Facebook and Instagram.

by Guest | Mar 22, 2022 | Recipes
Prep Time: 10 minutes
Cook Time: 30 minutes
Ingredients
- 8 ounces whole-wheat spaghetti noodles
- 1 Tablespoon sesame seeds
- 2 Tablespoons sugar
- 3 Tablespoons low-sodium soy sauce
- 2 Tablespoons vinegar (try rice or cider)
- ¼ cup vegetable oil
- 1 ½ cups bite-sized cut broccoli (fresh or frozen)
- 3 cloves minced garlic or 3/4 teaspoon garlic powder
- 1 ½ cups diced cooked chicken
Directions
- Wash hands with soap and water.
- Cook pasta according to package directions. Set aside.
- While pasta is cooking, toast sesame seeds in a small skillet over medium heat. Stir often until they turn light brown.
- In a small bowl, mix together sugar, soy sauce and vinegar. Set aside.
- Heat oil in large skillet over medium heat (300 degrees F in an electric skillet). Add broccoli and cook for a few minutes. Add garlic and then cook until broccoli is done.
- Add chicken and cook until heated through.
- Add drained pasta and soy sauce mixture and mix well. Sprinkle sesame seeds on top.
- Refrigerate leftovers within 2 hours.
Notes
- Substitute diced firm tofu or a can of drained and rinsed garbanzo beans for chicken. When using tofu, add to skillet in step 5.
- Try with other vegetables such as peas or green beans or a mixture of any you have on hand.
- Flavor boosters: red chili flakes, sliced green onions, and a teaspoon of sesame oil. Try any or all!
Photo & Recipe Source: https://www.foodhero.org/recipes/sesame-noodles-broccoli-and-chicken

by Guest | Mar 16, 2022 | Recipes
Irish Soda Bread is a great quick bread to make and this whole wheat version makes it healthier and heartier. It goes great with your favorite jam or with your St. Patrick’s Day meal!
Prep Time: 10 minutes
Cook Time: 30 minutes
Ingredients:
- 2 cups whole wheat flour
- 1 cup all-purpose flour
- ½ cup golden raisins
- 1 ½ tsp baking soda
- ½ tsp salt
- 2 cups low-fat buttermilk
Directions:
- Preheat oven to 400 degrees F and line a baking sheet with parchment paper
- In a large mixing bowl, combine whole wheat flour, all purpose flour, baking soda salt, and raisins.
- Make a well in the center of the dry ingredients and buttermilk all at once. Fold the ingredients with a rubber spatula until just combined; do not overmix.
- Turn dough out onto the parchment paper and form into a round loaf. Cut an X into the top of the dough with a sharp knife about ½ inch deep.
- Place on the middle rack to bake for 30 min or until firm and golden brown.
Photo and Recipe Source: https://www.diabetesfoodhub.org/recipes/whole-wheat-irish-soda-bread.html
by Guest | Mar 16, 2022 | Eat Well
Oregon’s North Coast is home to dozens of small, independent food businesses including farmers, ranchers, fishers, and value-added producers. This bountiful region is well known for its diverse variety of foods that are harvested, grown, or produced throughout the year, including beef, pork, lamb, dairy products, fish and shellfish, honey, vegetables, and craft beverages. Food Roots believes that a reinvestment in those who produce, harvest, and sell our local food will nourish our families, revitalize our communities, and grow our economy. Since 2006, Food Roots has been working to support small producers in Tillamook County through a variety of programs that increase access and affordability to local foods, promote healthy eating and garden education in schools, and support economic development of small food and farm businesses. Our projects and activities are divided in three main programs: Farm to School, Local Food Equity and Producer Support. Read below to learn more about our role in Tillamook county’s local food system and how you can support our mission!
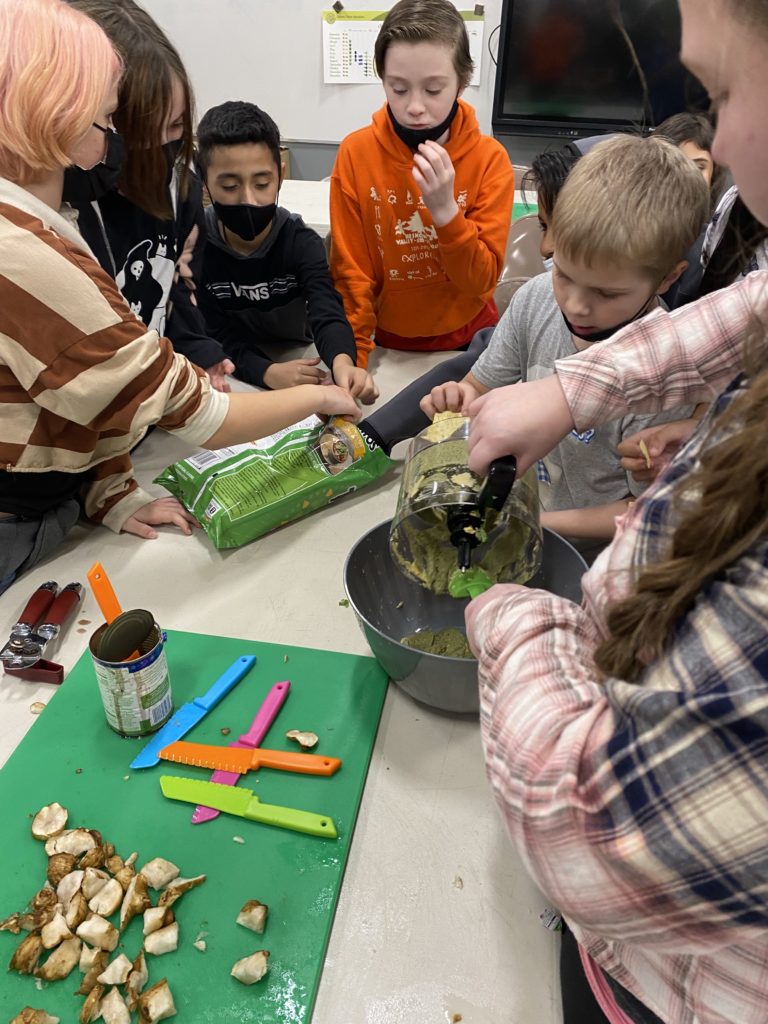
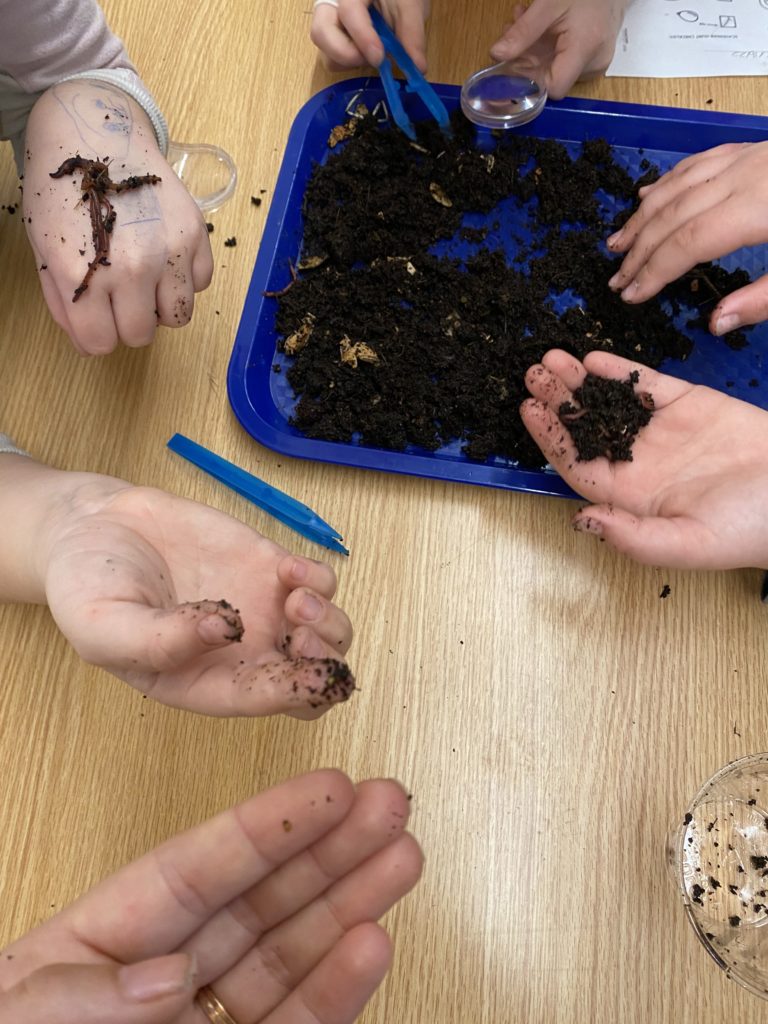
Farm to School Program: The National Farm to School Network has summarized research that shows the benefits of Farm to School programming including increasing students’ preferences for fresh fruit and vegetables, improving performance in school (science in particular), and impacting positive social behavior. The programming we provide is rooted in this research: we focus on hands-on activities that encourage inquiry and critical reasoning and prioritize activities that complement Next Generation Science Standards and Common Core ELA and math standards.
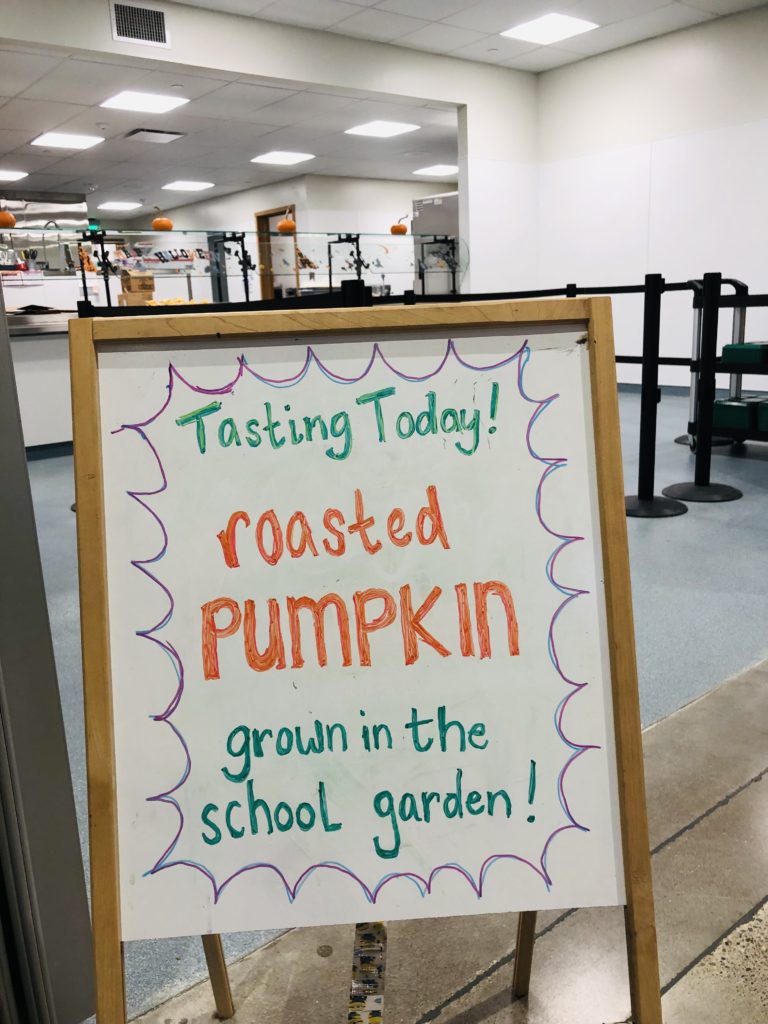
We currently partner with five different schools for the 2021-2022 school year: Garibaldi Grade School, Tillamook Junior High, East Elementary, Nestucca Valley Elementary and Nestucca Valley Early Learning Center. Every week, our farm to school educator visits classrooms to bring enriching garden-based lessons. We also organize school-wide tastings that feature a vegetable grown by a local producer and organize field trips to local farms. Every month we are engaging with over 750 students!
Producer Support: Food Roots is a provider of Individual Development Accounts (IDAs). IDAs are a matched savings program that enables low to moderate income entrepreneurs to save money to either start or expand a food system business. Food Roots’ IDA participants receive a 3:1 match on their IDA savings, meaning that for every $1 a participant saves, the program will match it with $3. Participants can save a combined total of $12,000 in savings and matched funds over three years. In addition to consistent monthly savings, participants learn important business skills such as cash‐flow projection, financial management, and marketing through free, required classes provided by partners like the local community college, Oregon State University Agricultural Extension, and local financial institutions. Once participants have reached their savings goal and completed the required classes, they can use the money to finance business‐related expenses.
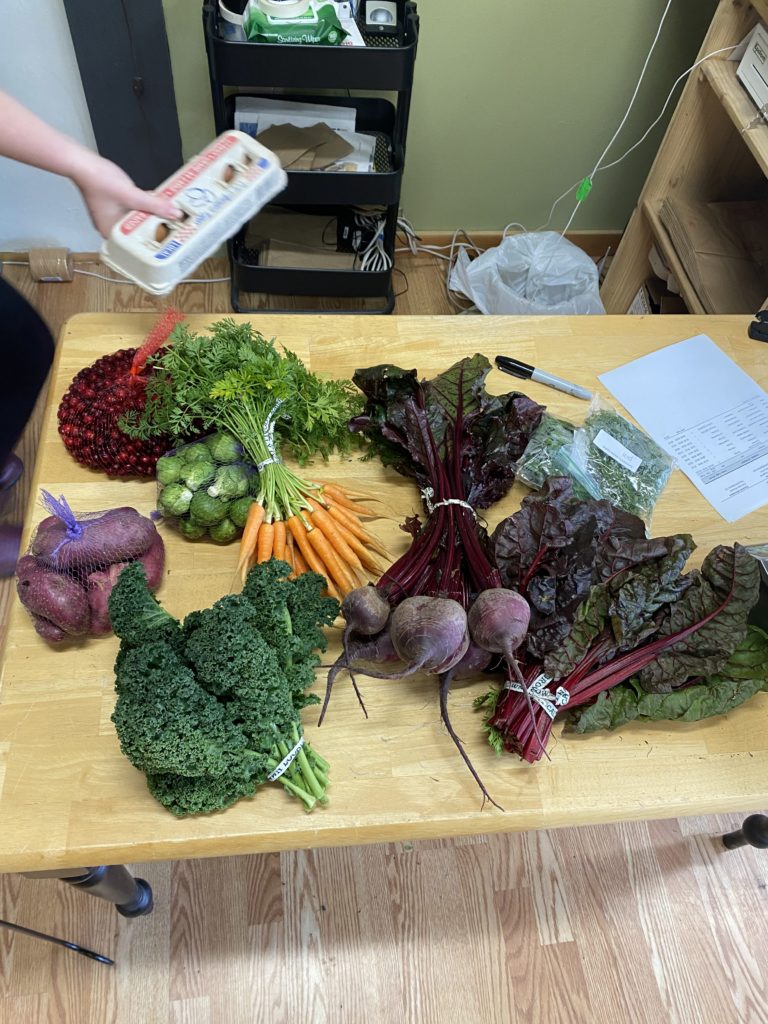
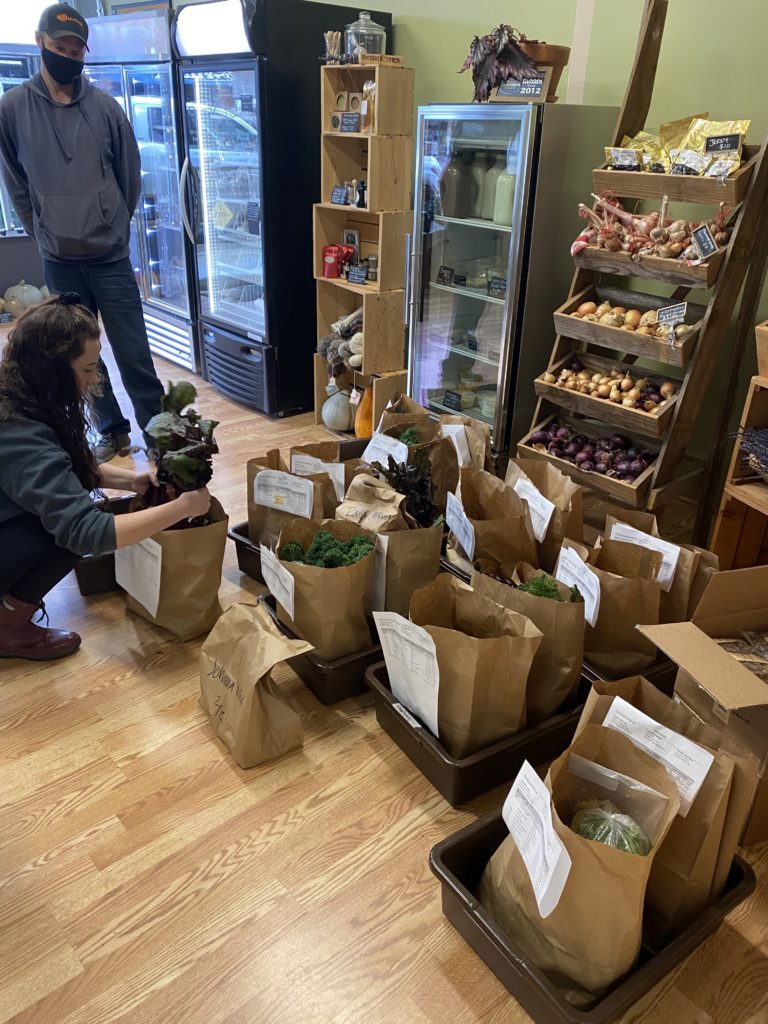
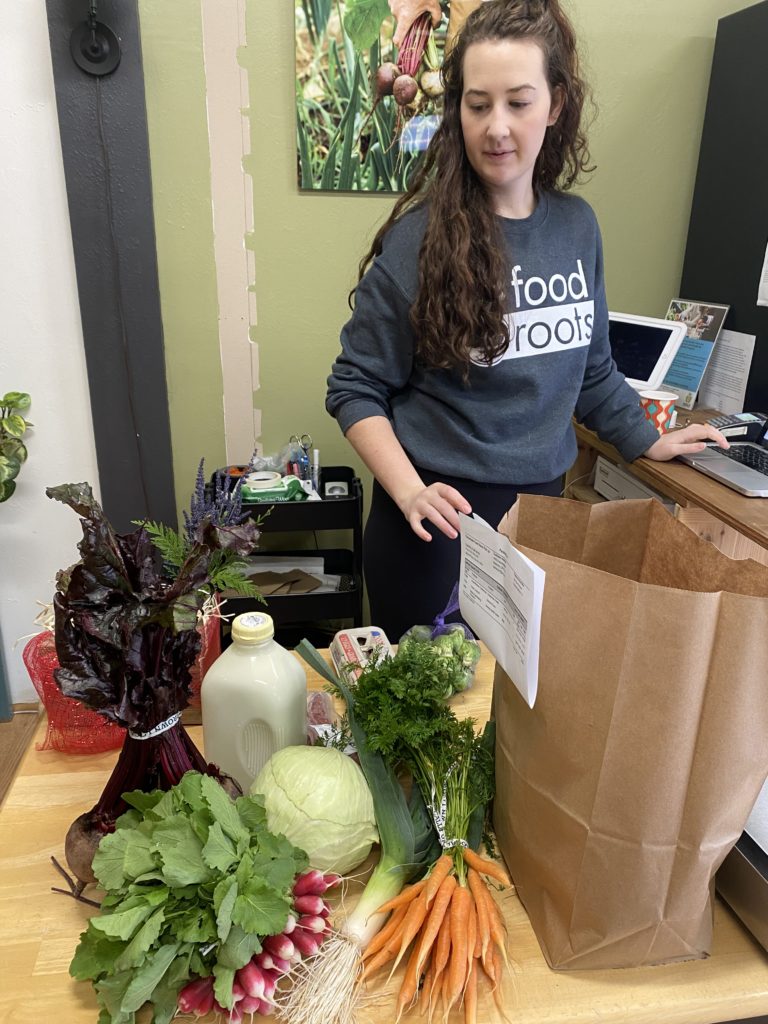
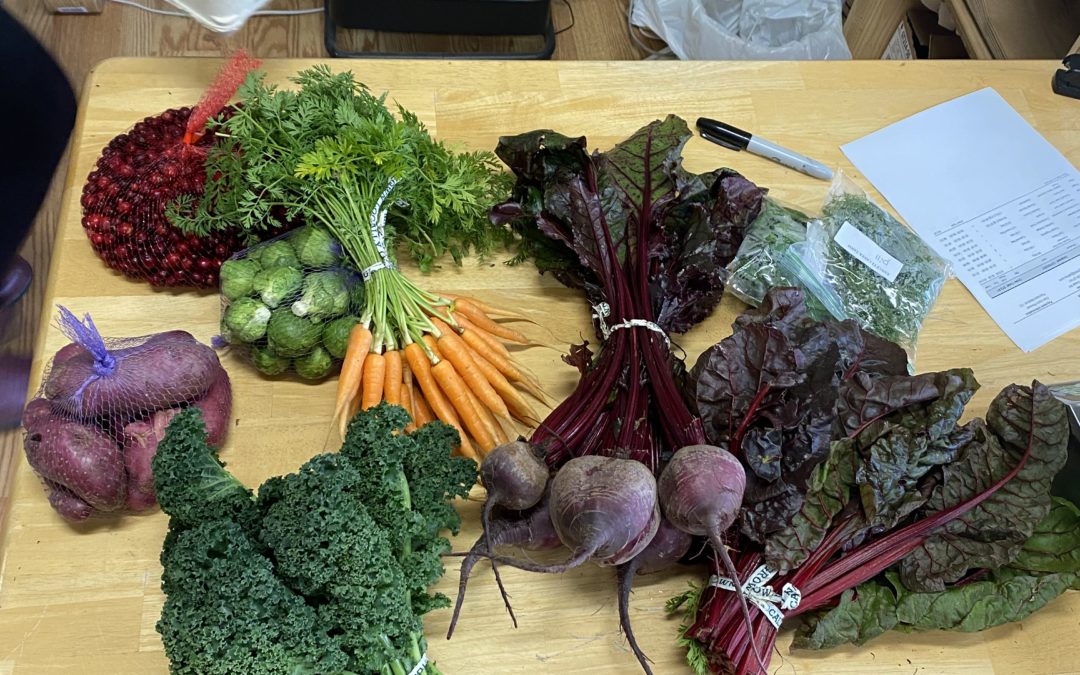
In the past few years, we have expanded our support to producers with the opening of our brick and mortar storefront, Food Roots Marketplace (formerly FarmTable). Opened in February 2018, Food Roots Marketplace has proven a popular outlet to connect our community and its visitors directly to our area’s food producers and their products. We feature over 50 local vendors and a variety of value-added products and fresh local produce that are stocked weekly. Customers can choose to visit our storefront (open weekly from Tuesday to Friday from 2-5:30pm) or shop online by visiting our website foodrootsnw.org (click on the “Online Marketplace” button on the top left). The online ordering window opens every Tuesday at 5:30pm and closes on Saturday at 11:59pm. The addition of the online platform has created an efficient system that allows producers to only harvest what they have sold. Producers update their inventory with produce that is available on the farm. Once the ordering window closes on Saturday, farmers check what they have sold on Sunday and bring all the orders to the store on Monday. When the store opens on Tuesday, all the orders are packed and ready to be picked up at our store! As part of our mission of making local food more accessible, we have also added a delivery program that brings online orders to the customer’s front door or to one of our 3 pick-up site locations spread across the county (Wheeler, Netarts and Cloverdale).
Local Food Equity: We believe everyone in Tillamook should have access to healthy, fresh, local food, so we have a few programs to increase affordability. Double Up Food Bucks (DUFB) is a SNAP (formerly called Food Stamps) matching program that incentivizes federal benefit food dollars to be spent on locally grown food at farmers markets and grocery stores that sell local food. At Food Roots Marketplace, we expand on Double Up Food Bucks, by doubling the matching program and expanding it to all SNAP-eligible food items. Using additional internal funds and community fundraising, SNAP shoppers can save up to $20 on every order!
Through this savings program, SNAP shoppers can also save up to $250 on CSA shares. CSA, or Community Supported Agriculture, is a model that provides customers with weekly boxes of fresh, seasonal produce, while supporting farmers with income early in their growing season. We partner with local farms to make CSA shares available at Food Roots Marketplace. CSA shares generally run from June through October or November. We will soon post sign-up information for CSA shares on our website, so stay tuned!
Finally, we partner with various organizations that serve socially-disadvantaged groups to provide bounty boxes- a limited time subscription to locally sourced, seasonal products that are delivered weekly. SNAP shoppers that sign-up for a bounty box receive half-off.
Food Roots relies on our strong community partners to accomplish our mission. Food Roots is the north coast hub lead for the Oregon Farm to School and School Garden Network, a member of the Oregon Community Food Systems Network, and a leader in the Tillamook County Wellness coalition, a ten-year initiative to reduce and prevent diabetes through access to healthy food, physical activity, workplace wellness and screenings. Without volunteers and community support, none of these programs would be possible. Please consider donating and/or volunteering or contact Food Roots for ways you can help us in our mission to cultivate a healthy food system in Tillamook County.
AUTHOR: Carol Parks, Program Manager at Food Roots
Other wellness questions? Email us at info@tillamookcountywellness.org. For more local health and wellness information, visit www.tillamookcountywellness.org or follow Tillamook County Wellness on Facebook and Instagram.


